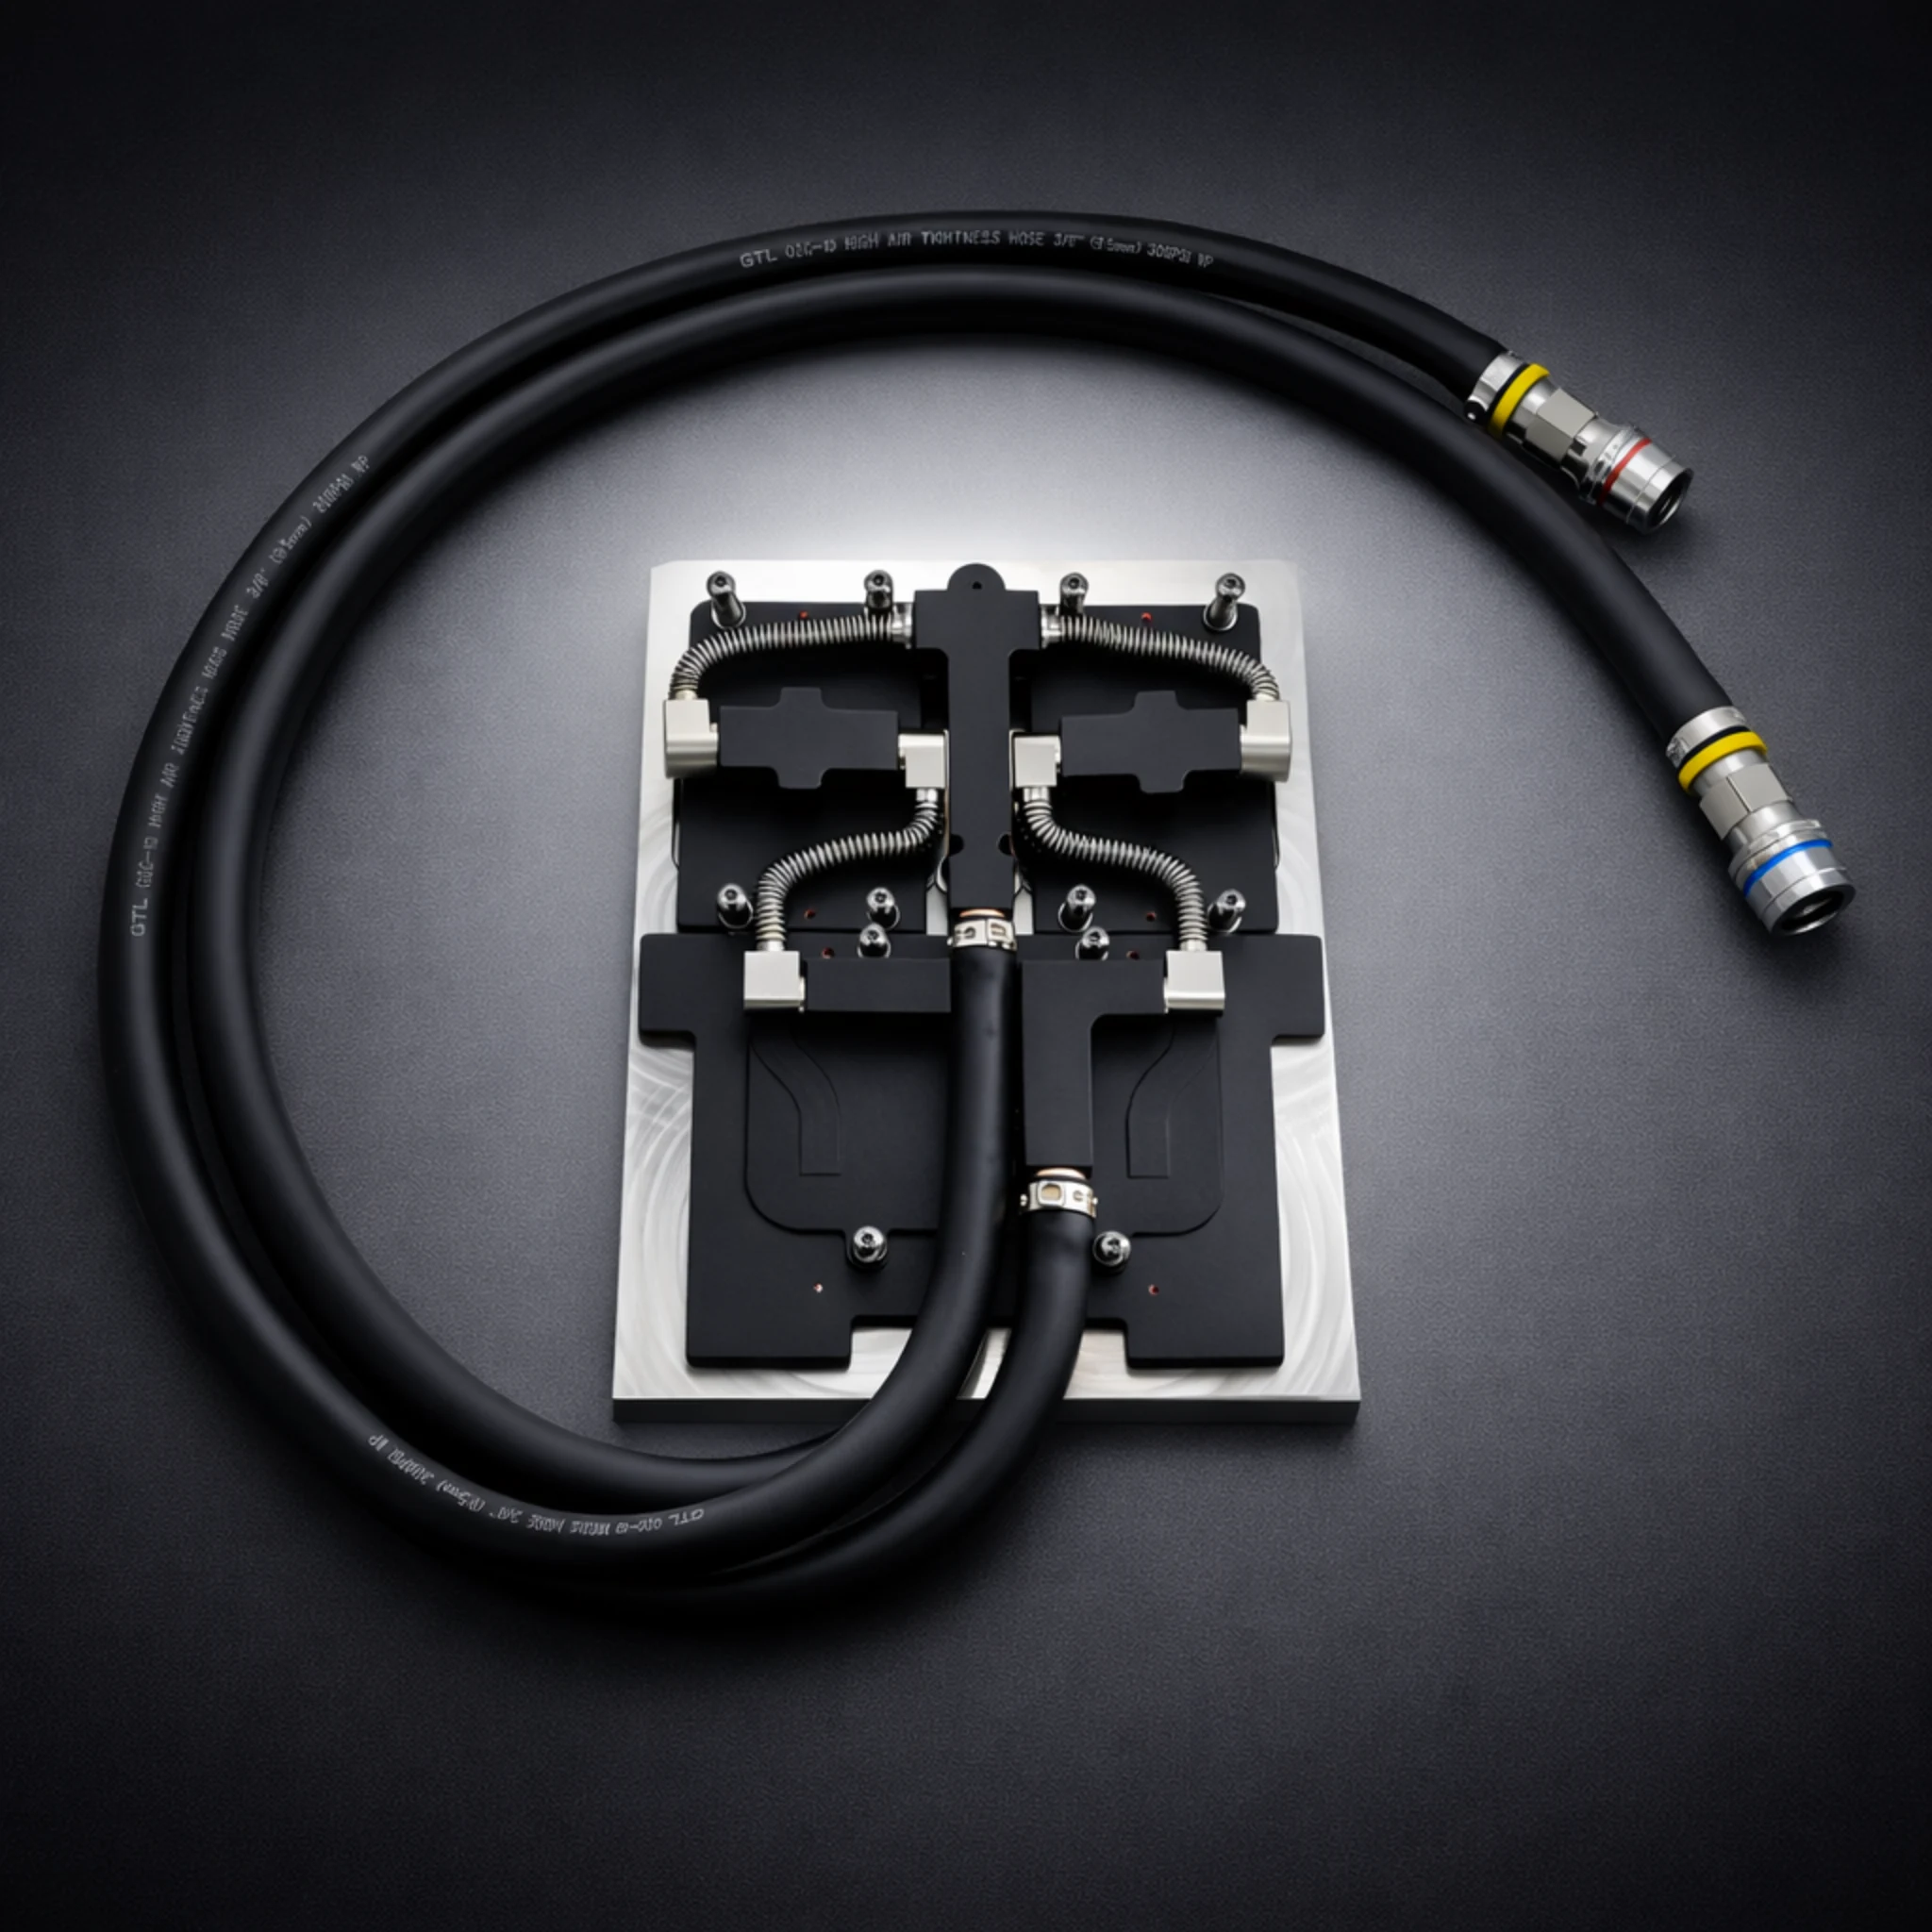
When your PC has to remain cool and operate flawlessly, an AIO cooler (All-in-One liquid cooler) is just the right one. It maintains the temperature even, particularly when gaming, editing videos, or performing other high-resource activities. In this blog post, we will tell you how to install AIO cooler and provide easy tips to keep it in a proper condition.
This guide will assist you in installing and maintaining your AIO cooler should you be building your first PC or replacing your existing system.
What is an AIO Cooler?
An AIO cooler is a liquid system for cooling your computer’s CPU. It combines the water block, pump, tubes, radiator, and fans all in a convenient package that’s easy to install. It cools more efficiently than regular air coolers and gives a cleaner look within your PC case.
AIO coolers come in sizes 120mm, 240mm, or 360mm based on the highest number of supported fans. A larger AIO typically means improved cooling but requires more room inside your case.

How to Install AIO Cooler: Step-by-Step Guide
As we know, installing an AIO cooler may sound tough, but with a few careful steps, you can do it easily. Here’s a simple guide on how to install AIO cooler on your PC:
1. Check Compatibility — Aio cooler
- Case size: Make sure your PC case can fit the radiator (120mm, 240mm, or 360mm).
- CPU socket: Your AIO cooler must be compatible with the CPU socket (such as Intel LGA 1700 or AMD AM4).
- Fan space: You will require space for the radiator, usually at the top, front, or back of your case.
2. Gather Tools — Aio cooler
- Phillips screwdriver
- Thermal paste (if not pre-applied)
- AIO cooler package (with all brackets and screws)
3. Prepare the Cooler — Aio cooler
- If your cooler does not have thermal paste pre-applied on the CPU block, put a pea-sized amount in the middle of the CPU.
- Install the mounting brackets onto the cooler according to your CPU type (Intel or AMD).
4. Mount the Radiator
- Decide where you want the radiator-top for better airflow or front for easier installation.
- Screw the fans to the radiator if they’re not pre-installed.
- Mount the radiator inside the case and screw it in tightly but carefully.
5. Install the CPU Block
- Place the block over the CPU and align it with the mounting holes.
- Use the given bracket and screws to fix it and also make sure the block is tight but not too tight.
6. Connect the Cables
- Connect the pump power cable to the AIO_PUMP or CPU_FAN header on the motherboard.
- Connect the fan cables to the CPU_FAN or a fan controller/hub.
- Some AIOs have RGB cables plug them into the correct RGB header or controller if needed.
7. Check Everything
- Before closing your case, check all connections.
- Make sure there’s no tension on the tubes and that the radiator fans are facing the correct direction (intake or exhaust).
First Time Power-On
Once everything is connected, power on your PC. You should:
- Hear the pump quietly running.
- See the fans spinning.
- Check BIOS or software to see CPU temps (should be between 30–50°C at idle)
If temps are too high or you don’t hear the pump, turn off the PC and double-check your installation.

AIO Cooler Maintenance Tips
Even though AIO coolers are mostly maintenance-free, doing a few things regularly will keep them working longer and more efficiently.
1. Clean the Dust
- Every 1–2 months, check the radiator and fans for dust buildup.
- Use compressed air to gently blow the dust off. Clean fans with a soft brush or cloth.
2. Check for Leaks
- Though rare, leaks can happen.
- Look around the CPU block and radiator for moisture or drops. If you see any, turn off your PC and contact the manufacturer.
3. Keep the Pump Running
- Always make sure the pump is connected to a power header that gives full voltage.
- If your BIOS allows, set the AIO_PUMP header to run at 100% speed.
4. Watch CPU Temperatures
- Monitor temperatures using software such as HWMonitor, CoreTemp, or your motherboard software.
- If temperatures spike without warning, it is perhaps time to reapply the thermal paste or to test whether the pump is failing.
5. Reapply Thermal Paste
- Every 1–2 years, consider removing the block, cleaning the old paste, and applying a new layer.
- This helps maintain good contact between the CPU and the cooler.
Common AIO Cooler Mistakes to Avoid
Here are a few simple things to avoid when learning how to install AIO cooler:
- Don’t install the radiator with tubes at the top. This can trap air in the pump. Keep the tubes at the bottom or side.
- Don’t overtighten the CPU block. Too much pressure can damage the CPU or motherboard.
- If thermal paste hasn’t yet been applied, be sure to apply it.
- Allow enough room around the radiator for air to be pushed in and out by the fans.

When should you replace your AIO cooler?
Most AIO coolers last between 4 to 7 years, depending on the brand and usage. If you notice:
- Noisy pump sounds
- Higher CPU temps than normal
- Fans or pump not spinning
- Visible leaks
It might be time to replace your cooler.
Final Thoughts
Installing and keeping an AIO cooler is not difficult if you do it correctly. It provides your CPU with improved cooling, looks fabulous inside your case, and keeps your system performing optimally even when under stress.
Now that you have learned how to install AIO cooler and how to maintain it, you can now enjoy a smooth, silent, and cool performance from your PC for many years to come. Go slow with the installation, double-check connections, and do not neglect maintenance. A little attention goes a long way in keeping your AIO cooler in optimal condition!
If you need top-quality AIO cooling solutions, visit ToneCooling. We provide quality cooling products to assist you in creating and maintaining a strong, well-cooled PC with minimal effort.
Whether you’re upgrading or assembling a new PC, an effective AIO cooler can make all the difference. Head over to ToneCooling to check out high-quality AIO coolers, fan kits, and accessories that bring performance and peace of mind.
Install Aio Cooler is a high-performance thermal management solution engineered by ToneCooling for demanding applications.
For industry standards and best practices, refer to ASHRAE thermal guidelines.
| Parameter | ToneCooling Specification |
|---|---|
| Material | Copper T2 / 6061 aluminum |
| Welding | TLP diffusion welding |
| Test pressure | 1 MPa (He leak + N₂ hold) |
| Coolant | PG25 (25% propylene glycol) |
| Custom design | Yes — DXF/STEP accepted |
Frequently Asked Questions
Does ToneCooling offer OEM and ODM services?
Yes. ToneCooling provides full OEM and ODM services including custom design, prototyping, thermal simulation, and volume production. We serve customers in North America, Europe, and Asia-Pacific with engineering support and samples within 2–4 weeks.
What server platforms does ToneCooling support?
ToneCooling liquid cooling solutions support Intel LGA4677, Intel LGA7529, AMD SP5, and NVIDIA GPU platforms including GB200 and H100/H200 configurations.
Can ToneCooling provide direct-to-chip cooling for AI clusters?
Yes. ToneCooling designs and manufactures direct-to-chip liquid cooling cold plates for GPU and CPU in AI training and inference clusters, supporting thermal loads exceeding 700W per chip.
Get a Custom Thermal Solution from ToneCooling
ToneCooling is a professional liquid cooling solution provider specializing in custom cold plates, AIO coolers, and advanced thermal management systems. With ISO 9001:2015 certified manufacturing, we deliver prototype samples within 2–4 weeks. Contact ToneCooling today for a free consultation and quote — we respond within 24 business hours.
Industry References & Standards
Need a Custom Liquid Cold Plate?
ToneCooling engineers design thermal solutions for your specific requirements. Get an engineering RFQ review based on your uploaded requirements.
Energy Storage System Liquid Cooling is a critical component in modern thermal management. ToneCooling engineers this solution for AI servers, data centers, EV batteries, and power electronics requiring high-performance liquid cooling.
Energy Storage System Liquid Cooling: Key Specifications
When evaluating energy storage system liquid cooling, engineers consider thermal resistance, pressure drop, flow rate, and material compatibility. ToneCooling provides detailed specs for every energy storage system liquid cooling design, backed by CFD simulation and testing.
Why Choose ToneCooling for Energy Storage System Liquid Cooling
ToneCooling has manufactured over 50,000 energy storage system liquid cooling units for global OEM customers. Our energy storage system liquid cooling production features vacuum brazing furnaces below 10⁻⁴ mbar, FSW machines with ≤0.02mm flatness, and helium leak detection at 10⁻⁸ mbar·L/s. Every energy storage system liquid cooling undergoes 100% pressure testing at 25 bar.
Our engineering team provides free energy storage system liquid cooling design consultation, CFD simulation, and rapid prototyping in 7-14 days. Production energy storage system liquid cooling orders ship in 4-6 weeks under ISO 9001:2015 quality management.
Need a Custom Liquid Cold Plate?
ToneCooling engineers design thermal solutions for your requirements. Response within 24-48 hours.
Last Updated: 2026-04-08
DR Kevin, Thermal Engineer, ToneCooling